Comparing different versions of a PowerPoint presentation is crucial, especially when collaborating with a team. This guide provides a step-by-step approach on how to effectively compare and merge PowerPoint files using built-in features.
Comparing and Merging Presentations in PowerPoint
PowerPoint simplifies the process of comparing and merging different versions of a presentation. Here’s how:
Open the Comparison Feature
- Launch PowerPoint: Open the PowerPoint presentation you want to use as the base for comparison.
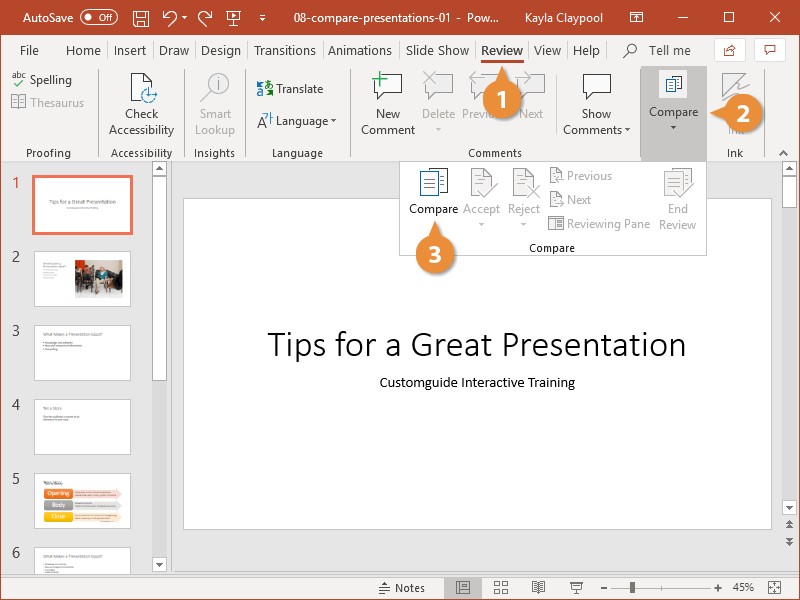
- Navigate to the Review Tab: Click on the “Review” tab in the PowerPoint ribbon.
- Locate the Compare Group: In the “Review” tab, find the “Compare” group. If you don’t see it immediately, you might need to expand the group by clicking on the small arrow at the bottom right corner of the “Compare” section.
- Initiate Comparison: Click the “Compare” button. This will open a file browser window.
Select the Presentation to Compare
- Choose the Second Presentation: In the file browser window, navigate to the location of the second PowerPoint presentation you want to compare. Select the file and click “Open.”
Merging and Reviewing Changes
- Merge the Presentations: PowerPoint will merge the selected presentation with the currently open one. The merged file will be displayed in Review mode.
- Review Changes in the Revisions Pane: The Revisions pane will open on the right side of the screen. This pane lists all changes between the two presentations, categorized into:
- Slide Changes: This section details all modifications made to individual slides, such as added, deleted, or modified content.
- Presentation Changes: This section lists changes applied to the entire presentation, like master slide modifications or changes in the slide order.
Accepting or Rejecting Revisions
PowerPoint allows you to selectively accept or reject changes identified during the comparison.
Reviewing Individual Changes
- Select a Change: In the Revisions pane’s “Details” tab, click on a specific change. A box will appear on the corresponding slide, highlighting the modifications. You can preview the slide with the changes applied by clicking the “Slides” tab in the Revisions pane.
- Accept or Reject:
- To accept a change: Check the box next to the change in the “Details” tab.
- To reject a change: Leave the box unchecked. The original content will be retained.
Navigating and Finalizing Changes
- Browse Revisions: Use the “Previous” and “Next” buttons in the “Review” tab to navigate through all the revisions.
- End the Review: Once you’ve reviewed all changes, click “End Review” in the “Compare” group. Confirm that you want to finalize the review and discard any rejected changes by clicking “Yes.”
Saving the Final Presentation
- Save Your Work: Click “Save” to save the updated presentation incorporating the accepted changes. The original presentation will be overwritten with the new version. Consider saving a copy of the original presentation before starting the comparison process. This ensures you have a backup if needed.