Are Digital Camera Exposure Settings Comparable To Film? The answer is no, not exactly, but understanding the nuances can greatly improve your photography. At COMPARE.EDU.VN, we break down the differences in exposure latitude between digital cameras and film, guiding you to master both mediums. By understanding these key differences, you can optimize your photographic workflow, and learn techniques to achieve the best results with digital photography, including dynamic range and post-processing.
1. Understanding Exposure Latitude: Film vs. Digital
Exposure latitude refers to the range of tones that a photographic medium (film or a digital sensor) can capture while still retaining detail. This range is often measured in stops of light. Film, particularly color negative film, is known for its forgiving exposure latitude. Digital sensors, while constantly improving, generally have a narrower exposure latitude than film.
1.1. Exposure Latitude in Film Photography
Color negative film, such as Kodak ColorPlus or Fuji Superia, typically offers an exposure latitude of -1/+3 stops. This means you can underexpose by one stop or overexpose by up to three stops and still obtain a usable image.
Example: If the ideal exposure setting is f/8 at 1/250s, you could shoot at f/8 and 1/500s (one stop underexposed) or 1/60s (three stops overexposed), and the resulting negative would still produce a decent print.
This broad latitude is due to the chemical properties of the film, which can record a wide range of light levels. The latitude provides a safety net, especially useful in unpredictable lighting conditions or when using cameras with less accurate metering systems.
1.2. Exposure Latitude in Digital Photography
Digital sensors, while advancing rapidly, generally have a more constrained exposure latitude. Overexposing a digital image can quickly lead to blown-out highlights with irreversible loss of detail. Underexposing can result in noisy shadows.
Digital Exposure Latitude Ranges
| Scenario | Film | Digital |
|---|---|---|
| Exposure latitude | Typically -1/+3 stops for color negative film | Varies but generally narrower than film |
| Overexposure | Forgiving, retains detail up to +3 stops | Can quickly lead to blown-out highlights |
| Underexposure | Usable image even at -1 stop | Can result in noisy shadows |
| Highlights | Retains detail even with slight overexposure | More sensitive, detail can be easily lost |
| Shadows | Detail is generally preserved | Can become noisy if significantly underexposed |
1.3. What Affects Digital Camera Exposure Latitude?
Several factors affect the exposure latitude of a digital camera:
- Sensor Size: Larger sensors (e.g., full-frame) typically have better dynamic range and, therefore, greater exposure latitude than smaller sensors (e.g., APS-C or Micro Four Thirds).
- ISO Setting: Shooting at base ISO usually provides the widest dynamic range. Increasing the ISO can reduce dynamic range and increase noise.
- Image Format: Shooting in RAW format captures more information than JPEG, allowing for greater flexibility in post-processing.
2. The Impact of Exposure on Image Quality
The way you expose your images significantly affects the final result. Understanding the characteristics of both film and digital can help you achieve the desired look.
2.1. How Exposure Affects Film Images
With film, overexposure generally results in denser negatives, which can produce vibrant, albeit slightly washed-out, prints. Underexposure leads to thin negatives, resulting in contrasty prints with less shadow detail.
Because of film’s forgiving nature, slight overexposure is often preferred, especially with color negative film. It ensures ample detail in the shadows and minimizes grain.
2.2. How Exposure Affects Digital Images
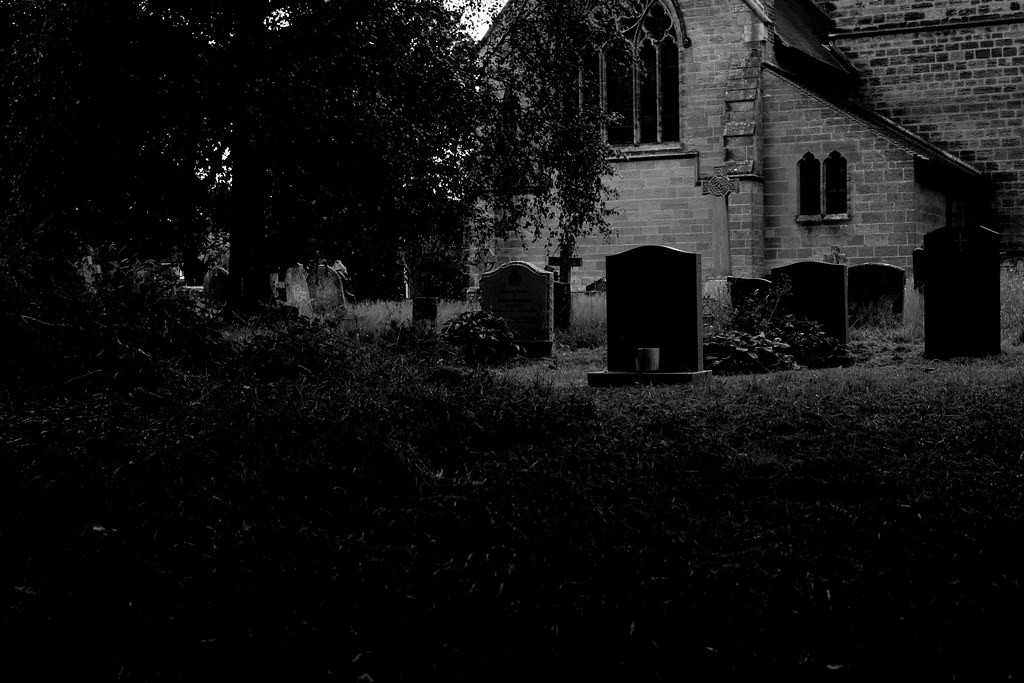
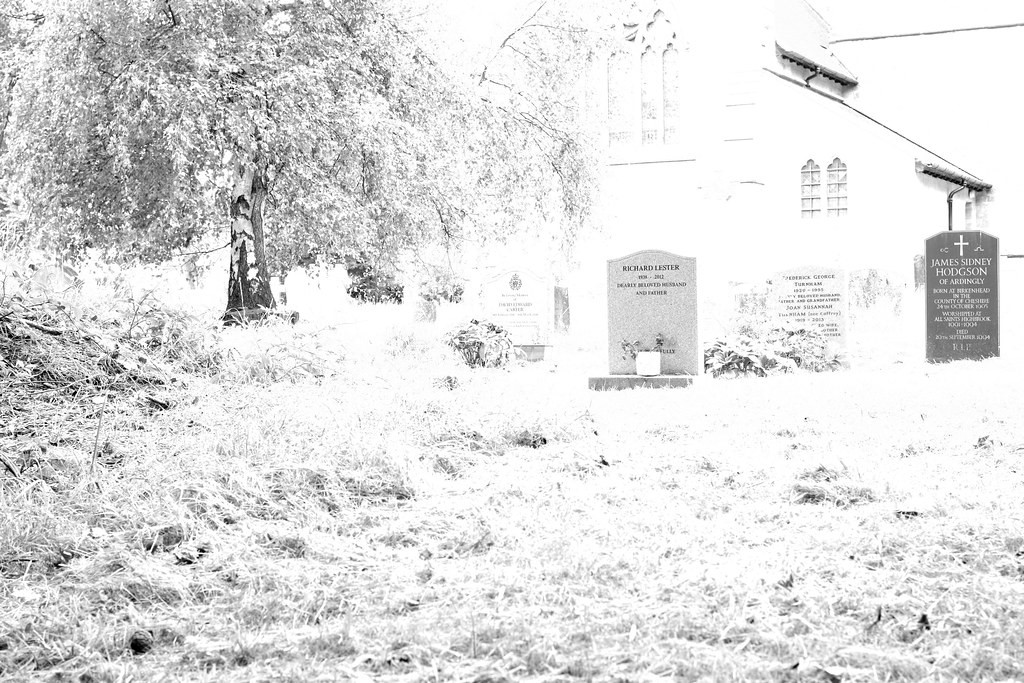
- Overexposure: In digital photography, overexposure causes highlights to lose detail and become pure white. This is known as “clipping.” Once highlights are clipped, the information is unrecoverable.
- Underexposure: Underexposing a digital image can lead to noisy shadows. While some shadow detail can be recovered in post-processing, excessive underexposure results in unsightly digital noise.
2.3. Optimizing Digital Exposure
To optimize exposure with digital cameras:
- Use Histograms: Histograms provide a visual representation of the tonal range in your image. Ensure that the histogram is balanced and doesn’t clip at either end.
- Highlight Alert: Enable highlight alert (also known as “blinkies”) on your camera to identify areas that are overexposed.
- Expose to the Right (ETTR): This technique involves slightly overexposing the image to maximize the amount of light captured by the sensor. Be cautious not to clip the highlights.
3. Practical Comparison: Digital vs. Film Exposure Scenarios
Let’s look at practical scenarios to illustrate the differences and similarities between digital and film exposure settings.
3.1. Scenario 1: Bright Sunny Day
- Film: With color negative film, you could slightly overexpose without significant loss of detail. This is especially useful if you are shooting in varied lighting conditions.
- Digital: In bright sunlight, precise metering is crucial. Use spot metering to avoid blowing out highlights, particularly in the sky or on reflective surfaces. Consider using a neutral density (ND) filter to reduce the amount of light entering the lens, allowing you to shoot at wider apertures.
3.2. Scenario 2: Low Light Conditions
- Film: High ISO film can handle underexposure better than digital. However, pushing film too far can result in increased grain and contrast.
- Digital: In low light, increasing the ISO can introduce noise. Try to expose as brightly as possible without clipping highlights. Noise reduction software can help mitigate noise in post-processing. Using a fast lens (e.g., f/1.8 or wider) allows more light to reach the sensor.
3.3. Scenario 3: High Contrast Scene
- Film: Film’s wider latitude handles high-contrast scenes reasonably well, retaining detail in both highlights and shadows.
- Digital: Digital sensors may struggle with high contrast scenes. Techniques include:
- HDR (High Dynamic Range): Take multiple exposures and merge them in post-processing.
- Graduated Neutral Density (GND) Filter: Use a GND filter to darken the bright areas of the scene, such as the sky.
- Fill Flash: Use fill flash to brighten the shadows.
4. Key Exposure Settings to Master
Mastering exposure settings is crucial for both film and digital photography. However, the approach may differ.
4.1. Aperture
Aperture controls the amount of light entering the lens and affects the depth of field.
- Film: Choose an aperture based on the desired depth of field. Slight exposure errors can be corrected in printing.
- Digital: Select an aperture that balances light and depth of field. Monitor the histogram and use exposure compensation if necessary.
4.2. Shutter Speed
Shutter speed controls the duration of light exposure and affects motion blur.
- Film: Choose a shutter speed that prevents motion blur. Film’s latitude can handle slight over or underexposure.
- Digital: Select a shutter speed to avoid motion blur. Pay close attention to the exposure meter and histogram to ensure proper exposure.
4.3. ISO
ISO determines the sensitivity of the film or digital sensor to light.
- Film: Choose an ISO based on lighting conditions. Faster films (higher ISO) are more sensitive but have more grain.
- Digital: Use the lowest ISO possible to minimize noise. Increase the ISO only when necessary.
5. Post-Processing Techniques
Post-processing is an integral part of digital photography. It allows you to fine-tune exposure and correct any issues. While film photographers also engage in post-processing (e.g., developing and printing), digital post-processing offers more flexibility.
5.1. Exposure Adjustments
- Digital: Use software like Adobe Lightroom or Capture One to adjust exposure. Be cautious when recovering highlights, as they can introduce artifacts.
5.2. Shadow Recovery
- Digital: Recovering shadows can reveal detail but may also increase noise. Use noise reduction tools to mitigate this.
5.3. Contrast and Tone
- Digital: Adjust contrast and tone curves to fine-tune the image. Be mindful of maintaining a natural look.
5.4. Color Correction
- Digital: Correct any color casts and adjust color balance. Use color profiles to ensure accurate color reproduction.
6. Benefits of Understanding Both Film and Digital Exposure
Understanding both film and digital exposure provides a well-rounded knowledge base that enhances your skills as a photographer.
6.1. Versatility
Being proficient in both mediums allows you to adapt to different shooting conditions and creative goals.
6.2. Creative Control
Understanding the nuances of each medium gives you greater creative control over the final image.
6.3. Appreciation for Photography
Learning both film and digital fosters a deeper appreciation for the art and science of photography.
7. Expert Tips for Achieving Optimal Exposure
7.1. Metering Modes
- Evaluative/Matrix Metering: The camera analyzes the entire scene and calculates the exposure.
- Center-Weighted Metering: The camera prioritizes the center of the scene.
- Spot Metering: The camera meters a small area, allowing for precise exposure control.
7.2. Exposure Compensation
Use exposure compensation to fine-tune the exposure. This is particularly useful in challenging lighting conditions.
7.3. Bracketing
Take multiple shots at different exposures. This ensures that you capture the optimal exposure.
8. Case Studies: Comparing Film and Digital Results
8.1. Portrait Photography
- Film: Film produces pleasing skin tones and handles slight overexposure gracefully, reducing the appearance of blemishes.
- Digital: Precise metering is crucial to avoid blown-out highlights on the skin. Use fill flash to brighten shadows.
8.2. Landscape Photography
- Film: Film captures a wide range of tones and produces beautiful colors, especially in natural light.
- Digital: Use HDR techniques to capture the full dynamic range of the scene. Graduated neutral density filters can help balance the exposure between the sky and the foreground.
8.3. Street Photography
- Film: Film’s forgiving latitude is ideal for capturing candid moments in unpredictable lighting conditions.
- Digital: Use a fast shutter speed to freeze motion and adjust the ISO as needed.
9. Frequently Asked Questions (FAQs)
9.1. Is it harder to get proper exposure with digital cameras than with film?
Digital cameras can be less forgiving than film, especially with overexposure. However, with practice and the right techniques, achieving proper exposure is manageable.
9.2. What is the best way to meter for digital photography?
The best metering mode depends on the situation. Spot metering is useful for precise control, while evaluative metering is good for general use.
9.3. How can I avoid blowing out highlights in digital photography?
Use highlight alert, expose to the right, and use neutral density filters.
9.4. What is the ideal ISO setting for digital photography?
The lowest ISO possible to minimize noise, typically ISO 100.
9.5. Can I recover lost highlight detail in post-processing?
It is difficult to recover completely blown-out highlights. Prevention is better than cure.
9.6. What are the advantages of shooting in RAW format?
RAW format captures more information, allowing for greater flexibility in post-processing.
9.7. How does sensor size affect exposure latitude?
Larger sensors generally have better dynamic range and greater exposure latitude.
9.8. Is it possible to make digital images look like film?
Yes, with the right post-processing techniques, such as adding grain and adjusting color curves.
9.9. What role does the histogram play in digital exposure?
The histogram provides a visual representation of the tonal range, helping you avoid over or underexposure.
9.10. How do neutral density filters help with exposure?
ND filters reduce the amount of light entering the lens, allowing you to shoot at wider apertures or slower shutter speeds in bright conditions.
10. Conclusion: Embracing the Strengths of Film and Digital
While digital camera exposure settings are not directly comparable to film due to differences in exposure latitude and sensor behavior, understanding these distinctions allows photographers to leverage the strengths of each medium. Film offers a forgiving nature and unique aesthetic, while digital provides immediate feedback and extensive post-processing capabilities.
By mastering exposure settings, metering modes, and post-processing techniques, you can achieve optimal results whether you choose to shoot film or digital. Each has its place in the world of photography, offering unique creative possibilities. Whether you’re an amateur exploring different mediums or a seasoned pro seeking to refine your technique, knowledge is power, and the more you understand about these critical distinctions, the better your photographs will be.
Ready to delve deeper into the world of photography and make informed decisions about your equipment and techniques? Visit COMPARE.EDU.VN today to access comprehensive comparisons and expert insights that will elevate your photographic journey. Make your choice the right choice with the help of COMPARE.EDU.VN. Contact us at 333 Comparison Plaza, Choice City, CA 90210, United States. Whatsapp: +1 (626) 555-9090. Explore more and decide smarter with compare.edu.vn.