Creating a visually appealing and informative diptych is crucial for effectively presenting comparisons. This guide provides a step-by-step approach on how to design a comparative diptych, covering key elements and best practices. Whether for a school project, a marketing campaign, or a personal endeavor, understanding the core principles of diptych design will ensure a successful outcome.
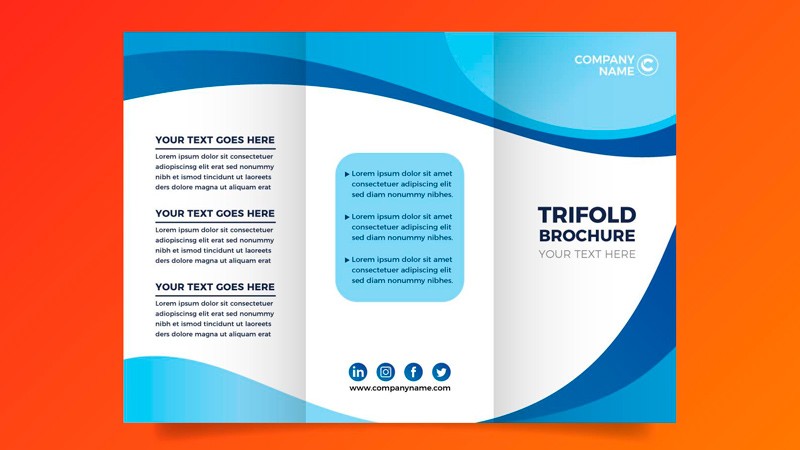 diferencia diptico triptico
Understanding the Diptych Format
A diptych is a single sheet of paper folded in half to create four panels: two outer panels (front and back) and two inner panels. This format is ideal for presenting information concisely and engagingly. Diptychs are versatile and used for various purposes, from brochures and menus to educational materials and art pieces. The folded nature of a diptych encourages interaction and allows for a structured flow of information.
Planning Your Comparative Diptych
Before diving into design, clearly define the purpose and subject of your comparison. What two entities are you comparing? What key aspects will you highlight? Answering these questions will guide your content creation and design choices. Consider your target audience and tailor the language and visuals accordingly.
Structuring Your Content
Effective comparison requires a logical structure. Consider these approaches for organizing your diptych:
- Panel 1: Introduction. Briefly introduce the two subjects being compared and state the purpose of the comparison.
- Panel 2 & 3: Feature Comparison. Dedicate each inner panel to a specific feature or aspect of the comparison. Use clear headings, concise descriptions, and visuals like charts or graphs to illustrate the differences.
- Panel 4: Conclusion & Call to Action. Summarize the key differences, highlight the strengths and weaknesses of each subject, and include a call to action if applicable (e.g., visit a website, contact for more information).
Design Elements for Effective Comparison
Visual elements enhance understanding and engagement:
- Visual Hierarchy: Use headings, subheadings, bullet points, and visuals to guide the reader’s eye and emphasize key information.
- Color Coding: Assign distinct colors to each subject to visually differentiate them throughout the diptych.
- Typography: Choose clear and legible fonts. Use different font sizes and weights to create visual hierarchy.
- Imagery: Incorporate relevant images, charts, or icons to support your text and make the comparison more engaging.
Software and Tools for Diptych Creation
Several tools can assist in creating a comparative diptych:
- Adobe InDesign: Professional layout software offering precise control over design elements.
- Adobe Photoshop: Ideal for image editing and manipulation.
- Adobe Illustrator: Suitable for creating vector graphics and illustrations.
- Microsoft Word: Basic word processing software that can be used for simple diptych layouts.
- Canva: User-friendly online design tool with pre-made templates and drag-and-drop functionality.
Printing and Distribution
Choose a printing method and paper stock that aligns with your budget and desired quality. Consider factors like paper weight, finish (matte or glossy), and folding options. For online distribution, save your diptych as a PDF for easy sharing and printing.
Conclusion
Creating a compelling comparative diptych involves careful planning, thoughtful content organization, and strategic use of design elements. By following these guidelines, you can effectively communicate complex comparisons in a clear, concise, and visually appealing format. Remember to tailor your approach to your specific audience and purpose to maximize the impact of your diptych.